If you like the idea of keeping all your memories in the one place, or you want to showcase your photography to a wider audience, then a hosted photo gallery is a sensible choice.
By now you’re most likely aware of commercial offerings such as Flickr and the like, though I’ve found once you’ve got your library into these platforms, it’s very hard to export it elsewhere without a great deal of hassle; then there’s the myriad of changing agreements and legalities too, not something I’d want to be worrying about.
Piwigo is an open source project which allows you to self host your own gallery on a server of your choice.
You could throw it up on a $5 a month droplet over at DigitalOcean, or on a crusty old machine in your garage, it’s entirely up to you and your needs.
Here I’ll walk you through setting up Piwigo on the latest LTS release of Ubuntu, 16.04 LTS (Xenial).
The Web Server
First, you’ll need to install Apache, this listens for web requests and serves up your website, run the following:
# freshen up your repositories
sudo apt-get update
# install apache
sudo apt-get install apache2
At this point, you should be able to hit your servers IP/hostname in a web browser and be presented with a “congratulations, apache’s installed page” or similar.
The Interpreter
Piwigo is written in PHP, we need to make your machine understand how to parse this code, run the following:
# install php 7.0 and some additional bits Piwigo requires
sudo apt-get install php7.0 libapache2-mod-php7.0 php7.0-mcrypt php7.0-gd php7.0-dom php7.0-json
The Database
You’re going to need to give Piwigo a place to store information about your galleries and images, run the following:
# install mysql-server and the relevant php extension
sudo apt-get install mysql-server php7.0-mysql
You’ll be prompted to set a root password for your database, make it super secure and store it in your favourite password manager, do not use this when configuring Piwigo later!
It’s also a great idea to secure your database a bit, do the following and follow the onscreen instructions:
sudo mysql_secure_installation
Pre-Flight Checks
So, you’ve now got a server capable of serving up web pages, understanding PHP and able to store data in a database, or at least we think we do, let’s first check Apache and MySQL are running:
sudo systemctl status mysql.service
sudo systemctl status apache2.service
If all is well, you should see something like the following:
ubuntu@ubuntu-xenial:~$ sudo systemctl status mysql.service
? mysql.service - MySQL Community Server
 Loaded: loaded (/lib/systemd/system/mysql.service; enabled; vendor preset: enabled)
 Active: active (running) since Fri 2016-11-25 18:22:52 UTC; 3min 33s ago
 Process: 11823 ExecStartPost=/usr/share/mysql/mysql-systemd-start post (code=exited, status=0/SUCCESS)
 Process: 11818 ExecStartPre=/usr/share/mysql/mysql-systemd-start pre (code=exited, status=0/SUCCESS)
 Main PID: 11822 (mysqld)
 Tasks: 28
 Memory: 143.9M
 CPU: 294ms
 CGroup: /system.slice/mysql.service
 ??11822 /usr/sbin/mysqld

Nov 25 18:22:51 ubuntu-xenial systemd[1]: Stopped MySQL Community Server.
Nov 25 18:22:51 ubuntu-xenial systemd[1]: Starting MySQL Community Server...
Nov 25 18:22:52 ubuntu-xenial systemd[1]: Started MySQL Community Server.
ubuntu@ubuntu-xenial:~$ sudo systemctl status apache2.service
? apache2.service - LSB: Apache2 web server
 Loaded: loaded (/etc/init.d/apache2; bad; vendor preset: enabled)
 Drop-In: /lib/systemd/system/apache2.service.d
 ??apache2-systemd.conf
 Active: active (running) since Fri 2016-11-25 18:23:46 UTC; 2min 39s ago
 Docs: man:systemd-sysv-generator(8)
 Process: 11866 ExecStop=/etc/init.d/apache2 stop (code=exited, status=0/SUCCESS)
 Process: 11891 ExecStart=/etc/init.d/apache2 start (code=exited, status=0/SUCCESS)
 Tasks: 6
 Memory: 15.3M
 CPU: 98ms
 CGroup: /system.slice/apache2.service
 ??11907 /usr/sbin/apache2 -k start
 ??11910 /usr/sbin/apache2 -k start
 ??11911 /usr/sbin/apache2 -k start
 ??11912 /usr/sbin/apache2 -k start
 ??11913 /usr/sbin/apache2 -k start
 ??11914 /usr/sbin/apache2 -k start

Nov 25 18:23:45 ubuntu-xenial systemd[1]: Starting LSB: Apache2 web server...
Nov 25 18:23:45 ubuntu-xenial apache2[11891]: * Starting Apache httpd web server apache2
Nov 25 18:23:46 ubuntu-xenial apache2[11891]: *
Nov 25 18:23:46 ubuntu-xenial systemd[1]: Started LSB: Apache2 web server.
ubuntu@ubuntu-xenial:~$
If you see bad things, Google the errors found in the appropriate log files and apply brain power.
We also want to check Apache is interpreting PHP correctly, so try this:
# open a file for editing using your favourite editor
sudo vim /var/www/html/info.php
Input the following, then save:
<?php phpinfo(); ?>
Now visit http://your_servers_ip-or-hostname/info.php in a web browser and you should see a PHP 7.0 info page.
The Software
Now, let’s get Piwigo downloaded and setup.
Creating a Database and Database User
You need to create a database and user within your nice new MySQL installation, do the following:
mysql -uroot -p
# enter your MySQL root password specified earlier
Then, once you have a MySQL prompt, do the following:
CREATE DATABASE piwigo;
CREATE USER 'piwigo'@'localhost' IDENTIFIED BY 'your-password';
GRANT ALL PRIVILEGES ON piwigo . * TO 'piwigo'@'localhost';
FLUSH PRIVILEGES;
quit
Congrats, you now have a fresh database and credentials to use within the Piwigo installation process.
Download and Place Piwigo
Here we’re going to prepare our web server’s directory, then download and place the Piwigo code:
# remove the default apache html directory
sudo rm -frv /var/www/html

# download Piwigo
wget http://piwigo.org/download/dlcounter.php?code=latest -O /tmp/piwigo.zip

# install a util to handle zip files
sudo apt-get install unzip

# unzip Piwigo to /var/www
sudo unzip /tmp/piwigo.zip 'piwigo/*' -d /var/www

# rename the Piwigo directory to "html" so Apache doesn't need re configuring
sudo mv /var/www/piwigo /var/www/html
The Actual Installation
Now, time to get away from the command line!
Head to http://your_servers_ip-or-hostname/install.php, then input your Piwigo database user and password you created earlier, along with the name of the database you created:
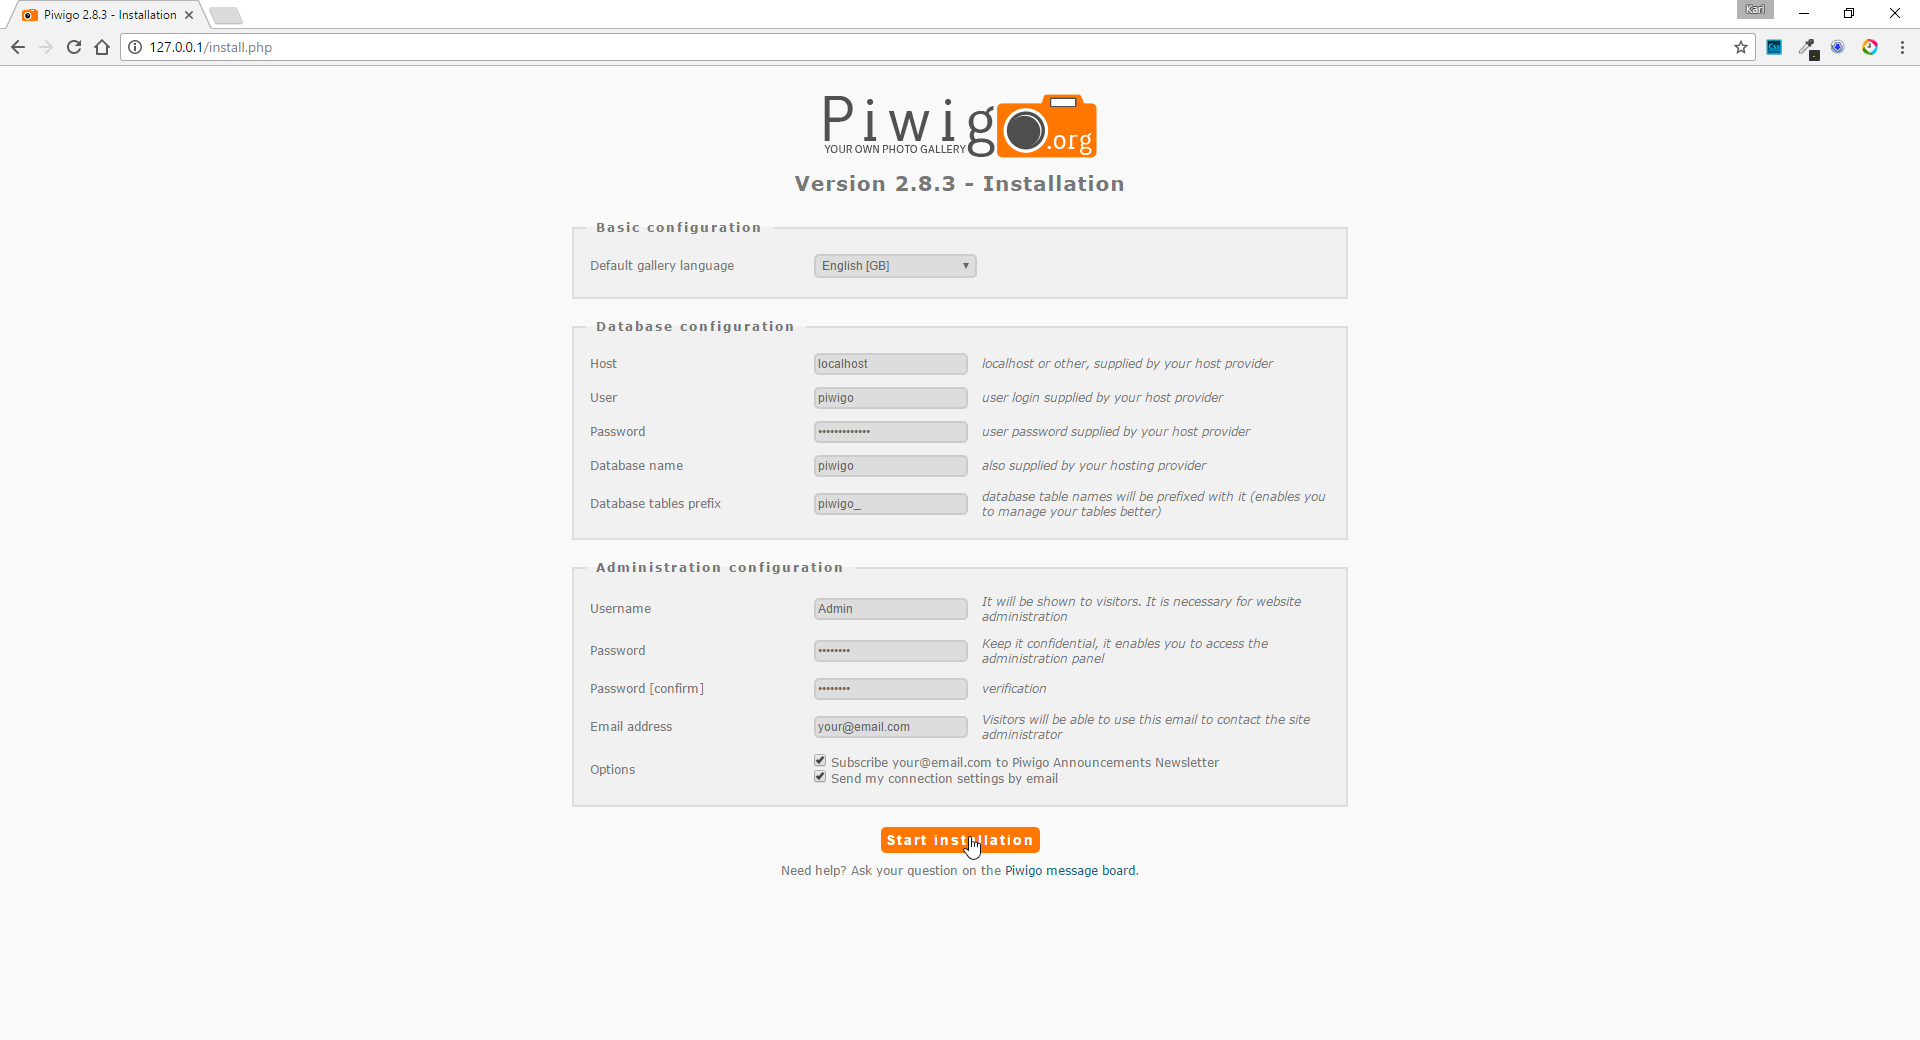
After this point, you should then see an installation successful screen, congratulations!
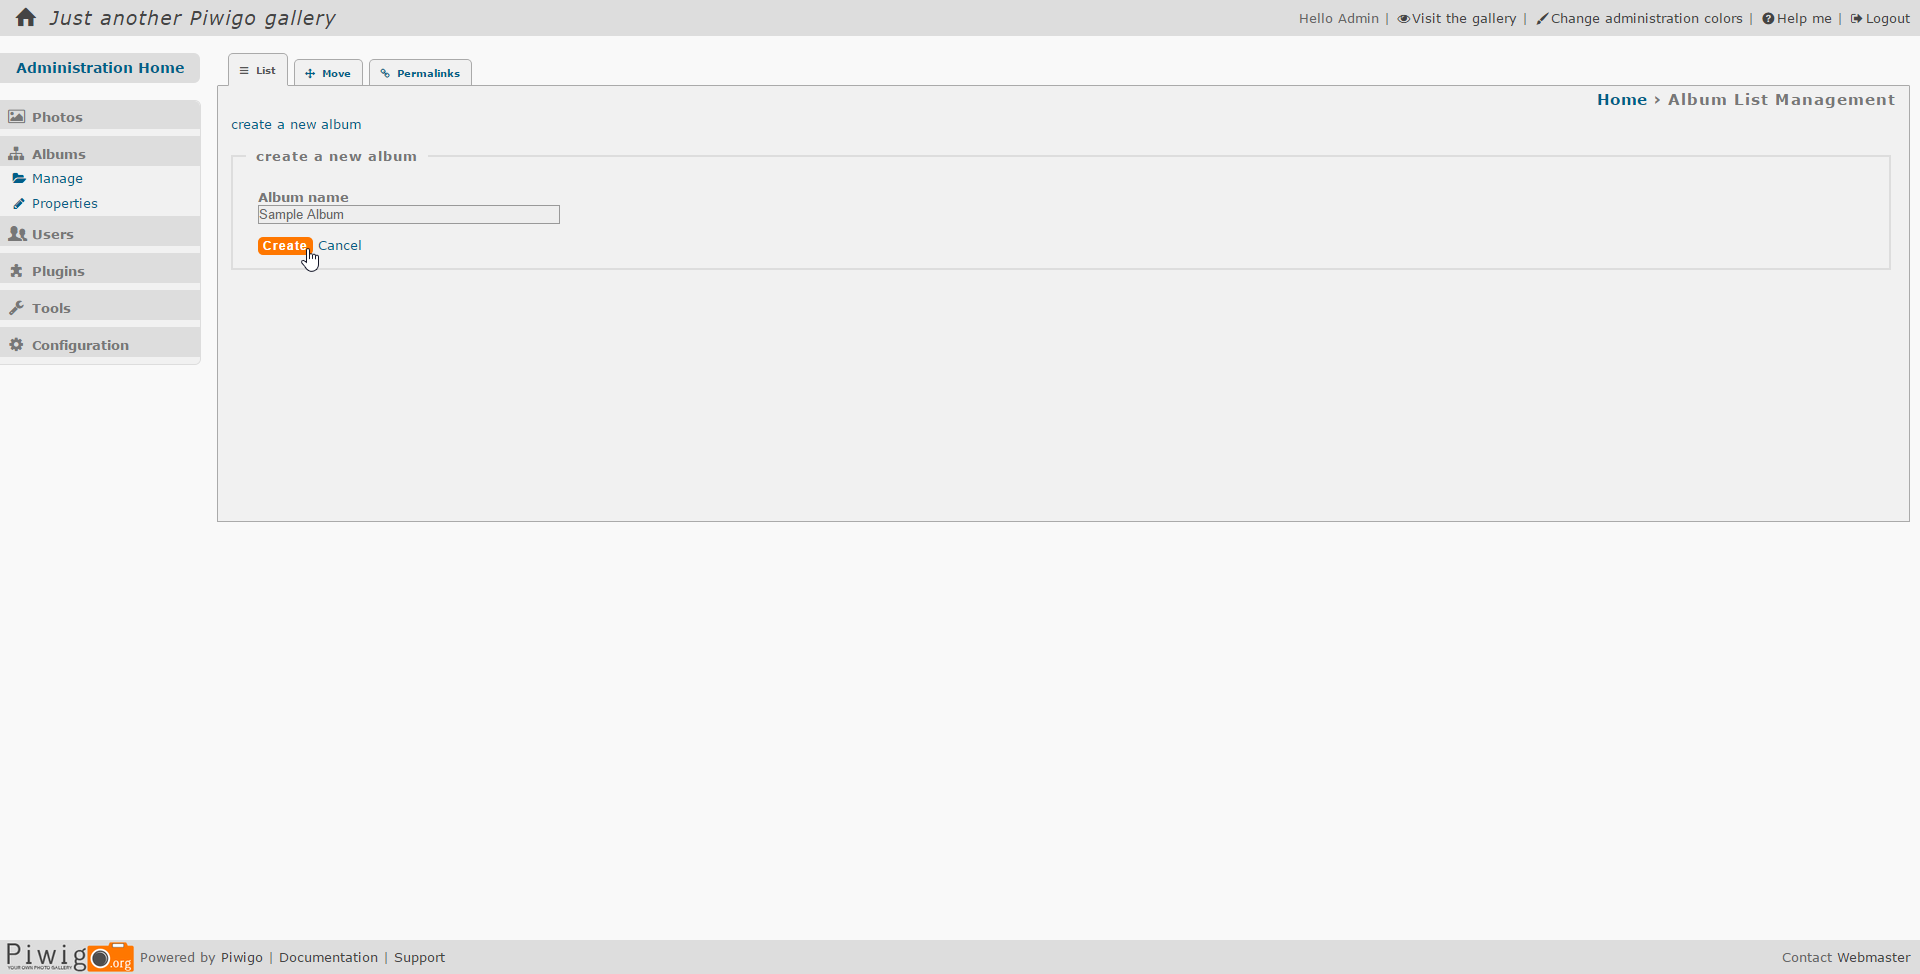
Now you can head in and create a sample album:
Then upload a file to the sample album:
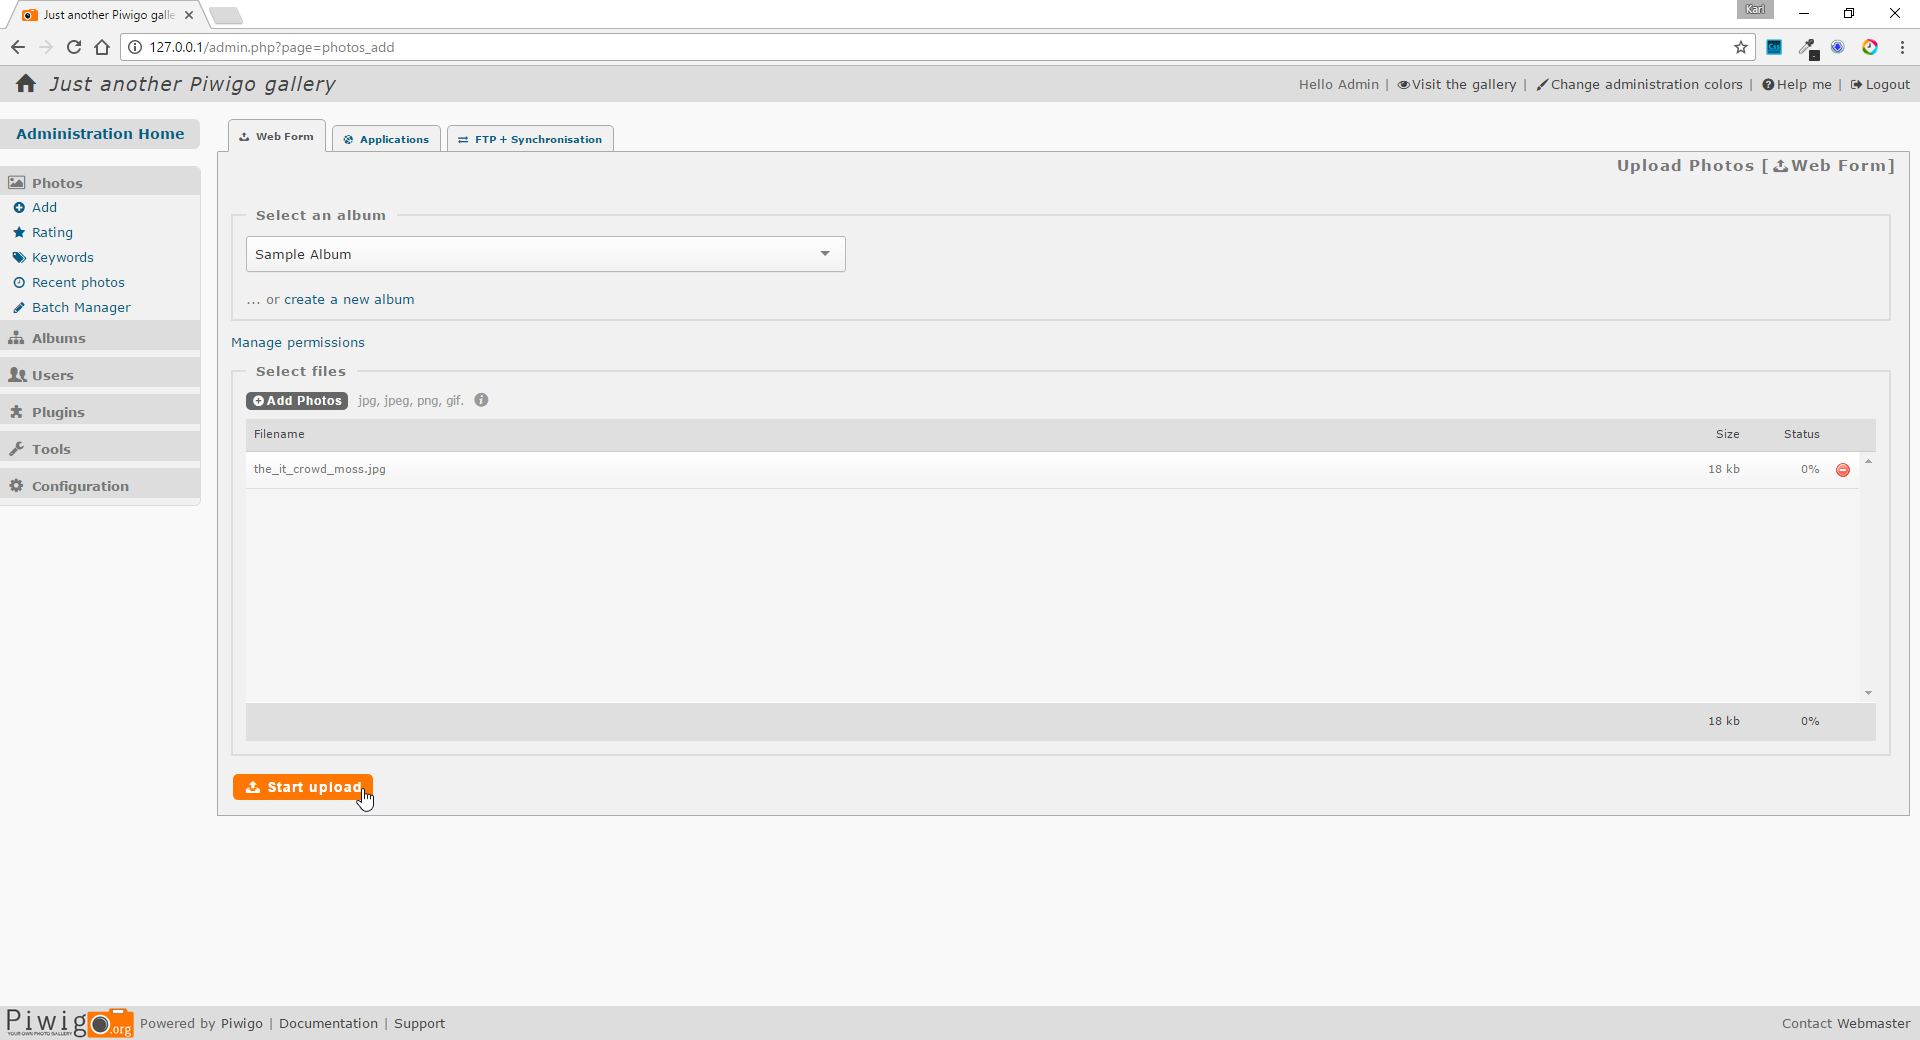
Now when you visit the root of your servers hostname or IP, you should see your very own self hosted image gallery:

If you run into any issues at all, please feel free to comment below and I’ll help you out as soon as possible!
Leave a Reply