NewRelic is a great tool to get an overall view of your infrastructure, both to determine whether it’s up or down, and to understand the load placed upon key resources such as your database.
The database is usually the heart of any application, most web apps are glorified [tooltip content=”Create, Read, Update, Delete” gravity=”n” fade=”0″]CRUD[/tooltip] interfaces for databases. so it’s important to know how the queries coming through from your app are impacting the platform overall; NewRelic is the perfect tool to do this.
In order for NewRelic to get visibility of your database from the inside out, you need to setup a database user for it, and install a plugin too, here’s how to do it.
How to Install NewRelic MySQL Plugin
Firstly, create a user within your MySQL database for the plugin to use and grant it the appropriate permissions:
CREATE USER 'newrelic'@'127.0.0.1' IDENTIFIED BY 'super-secret-password';
GRANT PROCESS, REPLICATION CLIENT ON *.* TO 'newrelic'@'127.0.0.1';
FLUSH PRIVILEGES;
Now head to the MySQL plugin page in “Plugin Central”:
https://rpm.newrelic.com/accounts/692732/plugins/directory/52
Under where it says “Requires New Relic Platform Installer (NPI)”, click “Get it here”, follow instructions and select architecture:
LICENSE_KEY={KEY GOES HERE} bash -c "$(curl -sSL https://download.newrelic.com/npi/release/install-npi-linux-redhat-x64.sh)"
Now head to “/root/newrelic-npi” and execute the following:
./npi install com.newrelic.plugins.mysql.instance
Fill in the config file with the correct instance name (hostname + plain english name is a good start) and the SQL user details defined earlier.
Now ensure the plugin is started by checking:
./npi list
That’s it, you should now be able to view all sorts of important information about your MySQL instance and the queries being submitted.
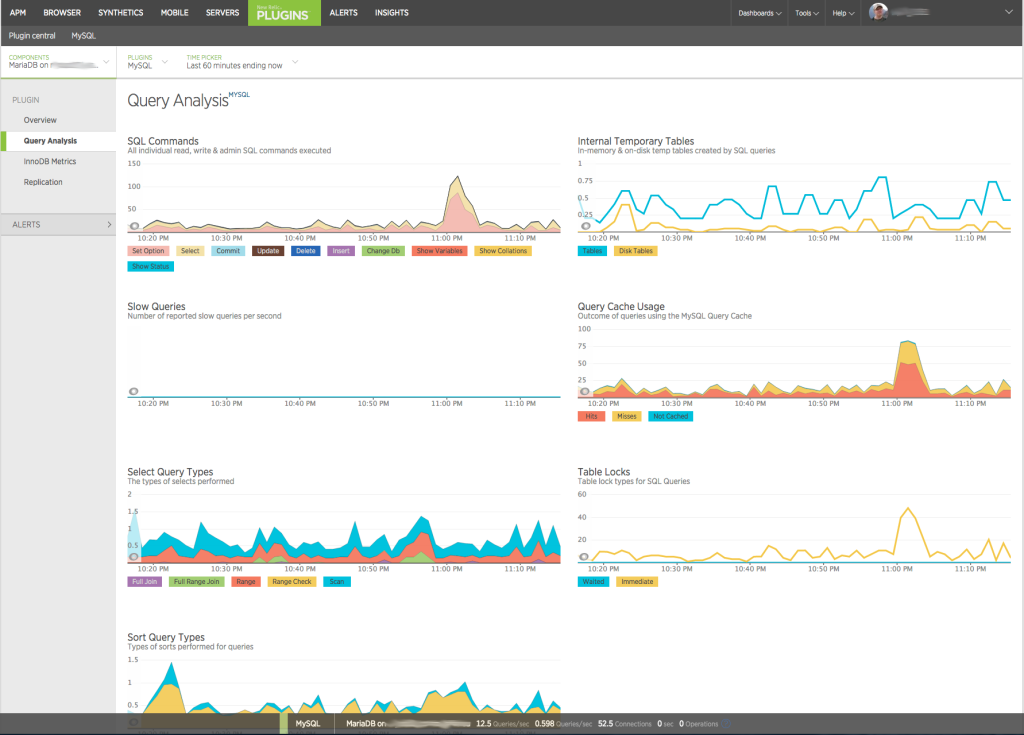
You can setup alerts for long-running queries, or if there’s no activity at all for a period of time, it’s entirely up to you.
Leave a Reply